A toilet tank has to fill the water tank after each discharge; otherwise, it can not work properly. Without enough water in the tank, the toilet does not discharge with enough force to prevent clogging in the drain pipe. A toilet that is not filled completely is useless.
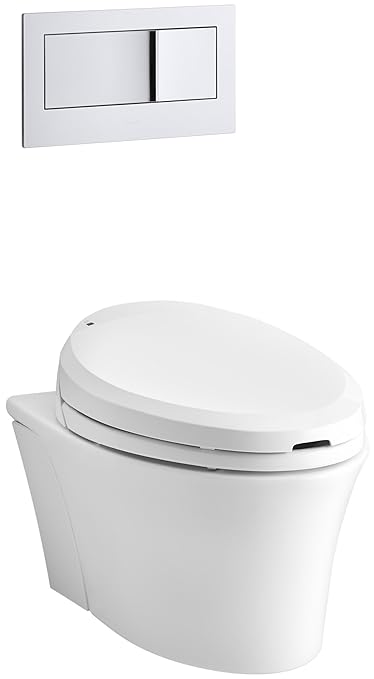
KOHLER K-6300-0 Veil Wall-Hung Elongated Toilet Bowl, White
Hinge Valve
Hinge valves are made of rubber and do not last forever. When the flap valve wears out, it will not sit over the drain opening in the bottom of the tank securely, allowing water to seep through the drain. Replacing a worn fin valve takes less than five minutes to do so. Another possibility is that the hinge valve chain of the toilet bowl may have bound, not allowing the hinge valve to sit on the drain opening. Moving on the handle can untie the chain, or you may have to remove the tank lid and untwist the chain by hand.
Water valve
The water valve that comes out of the wall just below or behind the toilet controls the flow of water that fills the toilet tank. If the valve is closed, no water will flow into the tank, no matter how many times it is pressed into the handle of the toilet. You can open the water valve by turning the handle to the left. Keep turning the valve counterclockwise until it can turn no further, ensuring that the valve is fully open.
Float level
If the toilet tank has some water in it, but it does not fill up to the water line inside the tank, the problem is in the level of the float in the tank. The float in larger basins sits at the end of a long metal bar. To adjust the float level, the arm should be bent upwards. Getting the toilet to fill up to the water level line can take a bit of trial and error with old toilets. With new baths, you can adjust the level of the float by turning the screw on the top of the float or by pinching a small clip while sliding the float up and down on its stem.
Filling valve capped
The fill valve is the large cylinder-shaped part inside the toilet tank that moves the water in the tank. Like the key aerators, the fill valve can be clogged with hard water or other debris. When you close the toilet water faucet, remove the filler valve cover and then turn the water over again for a few seconds, you can rinse the clogged remains of the valve. If the fill valve still does not work, a new washer in the lid may be necessary, or the entire valve assembly needs to be replaced.