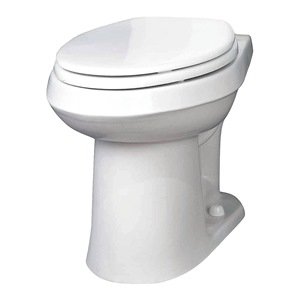
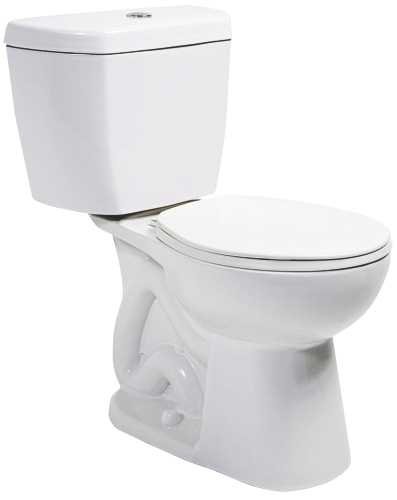
The toilet tank in a toilet is like the engine of a car. The tank uses the water inside to feed the waste and other materials into the container below. The tanks are secured in the location on the back of the cup by means of tank bolts. Because these tank bolts are in such proximity to the water, they can sometimes oxidize and cause leaks.
SANIFLO SANIACCESS 3 UPFLUSH MACERATOR PUMP + ROUND TOILET KIT, WHITE FINISH

Hygienic operation
Toilets work by flushing a certain amount of water through the toilet bowl to carry the waste inside. Before the discharge, the water is carried out inside the toilet tank, which is located above the bowl. Pressing down the discharge handle opens a flap inside the tank, and the force of gravity makes the water through the opening of the fin and into the container. The holes drilled inside the bowl rim create a whirling movement, which helps to power the objects inside the bowl.
The placement of the tank
The toilet tank sits on top of the back of the cup. The reservoir is usually based on a series of ridges in the container that holds it firmly in place. A couple --- --- sometimes more than toilet tank bolts are inserted through the bottom of the tank and through the back of the bowl. Rubber washers on top of the bolts hold the bolts in place and also seal the bolt holes. Nuts and washers keep the bolts in place underneath.
Rusty screws
Over time, the rubber washers on the top of the screws may begin to decline. This is especially true if you use certain additives in the tank, such as deodorants or cleaning products, and leave the tank to sit for a period. As the water evaporates in the tanks, the level of concentration of chlorine in the tank strengthens, which works to dissolve the rubber. Once the rubber dissolves, the water in the tank will begin to oxidize the screws and work its output from the tank.
The repair of rusty screws
Rusted screws should be replaced as soon as possible to help prevent a leak before it starts. Before repairing the tank, empty first. Close the water supply to the wall under the tank and pull the chain. Release the tank supply hose. Use a wrench or pliers to remove the nuts from the rusted tank bolts. If you can not remove the nut with tools, cut the nuts on the end of the bolt with a hacksaw. Protect the tank while it is working by covering it with adhesive tape.