A slow filled toilet creates a real discomfort, especially in situations where the toilet is used frequently in a short period of time. Instead of waiting long periods of time for the water inside the toilet tank to fill completely, solve the problem by addressing the common causes of a slow-fill toilet. If your toilet still needs a lot of time to fill, or if there is a problem with other parts of your home's plumbing, call a qualified plumber for help.
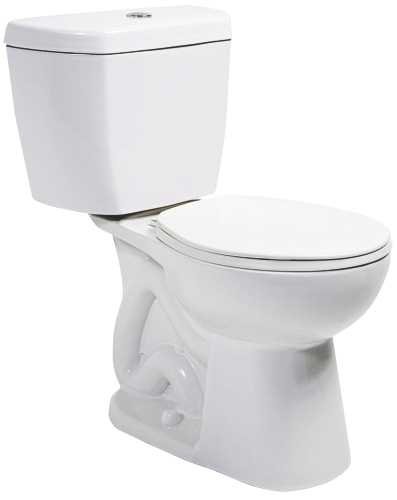
American Standard 3195A101.020 Champion PRO Right Height Elongated Toilet Bowl, White

Instructions
1 Turn the handle of the water valve on the toilet bowl counterclockwise until it stops, opening the valve to the end. Pull the chain again to see if the shut-off valve closes too much and was the cause of the slow filling.
2 Turn the water valve lever to the right of the toilet as far as possible to close the flow of water from the toilet. Pull the chain once, then use a sponge several times to absorb the remaining water and squeeze it out into a nearby bucket to empty the toilet.
3 Use a wrench to disconnect the water supply line from the toilet water valve and the toilet tank. Remove the tank lid and set it aside where it will not fall and break.
4 Use a pair of extension tongs to undo the anchor nut for the toilet tank fill valve, which is located on the water supply line connected to the tank. Hold the fill valve with the other hand to prevent it from moving as you undo the anchor nut, then pull the old fill valve from the tank once you have completely loosened the anchor nut.
5 Fit a new toilet tank fill valve and tighten the anchor nut using the blocked channels. Place the new water supply line to the fill valve on the bottom of the tank and the water valve, using a wrench to tighten the connections all the way. Turn the water valve handle counterclockwise to open the valve and refill the toilet tank.